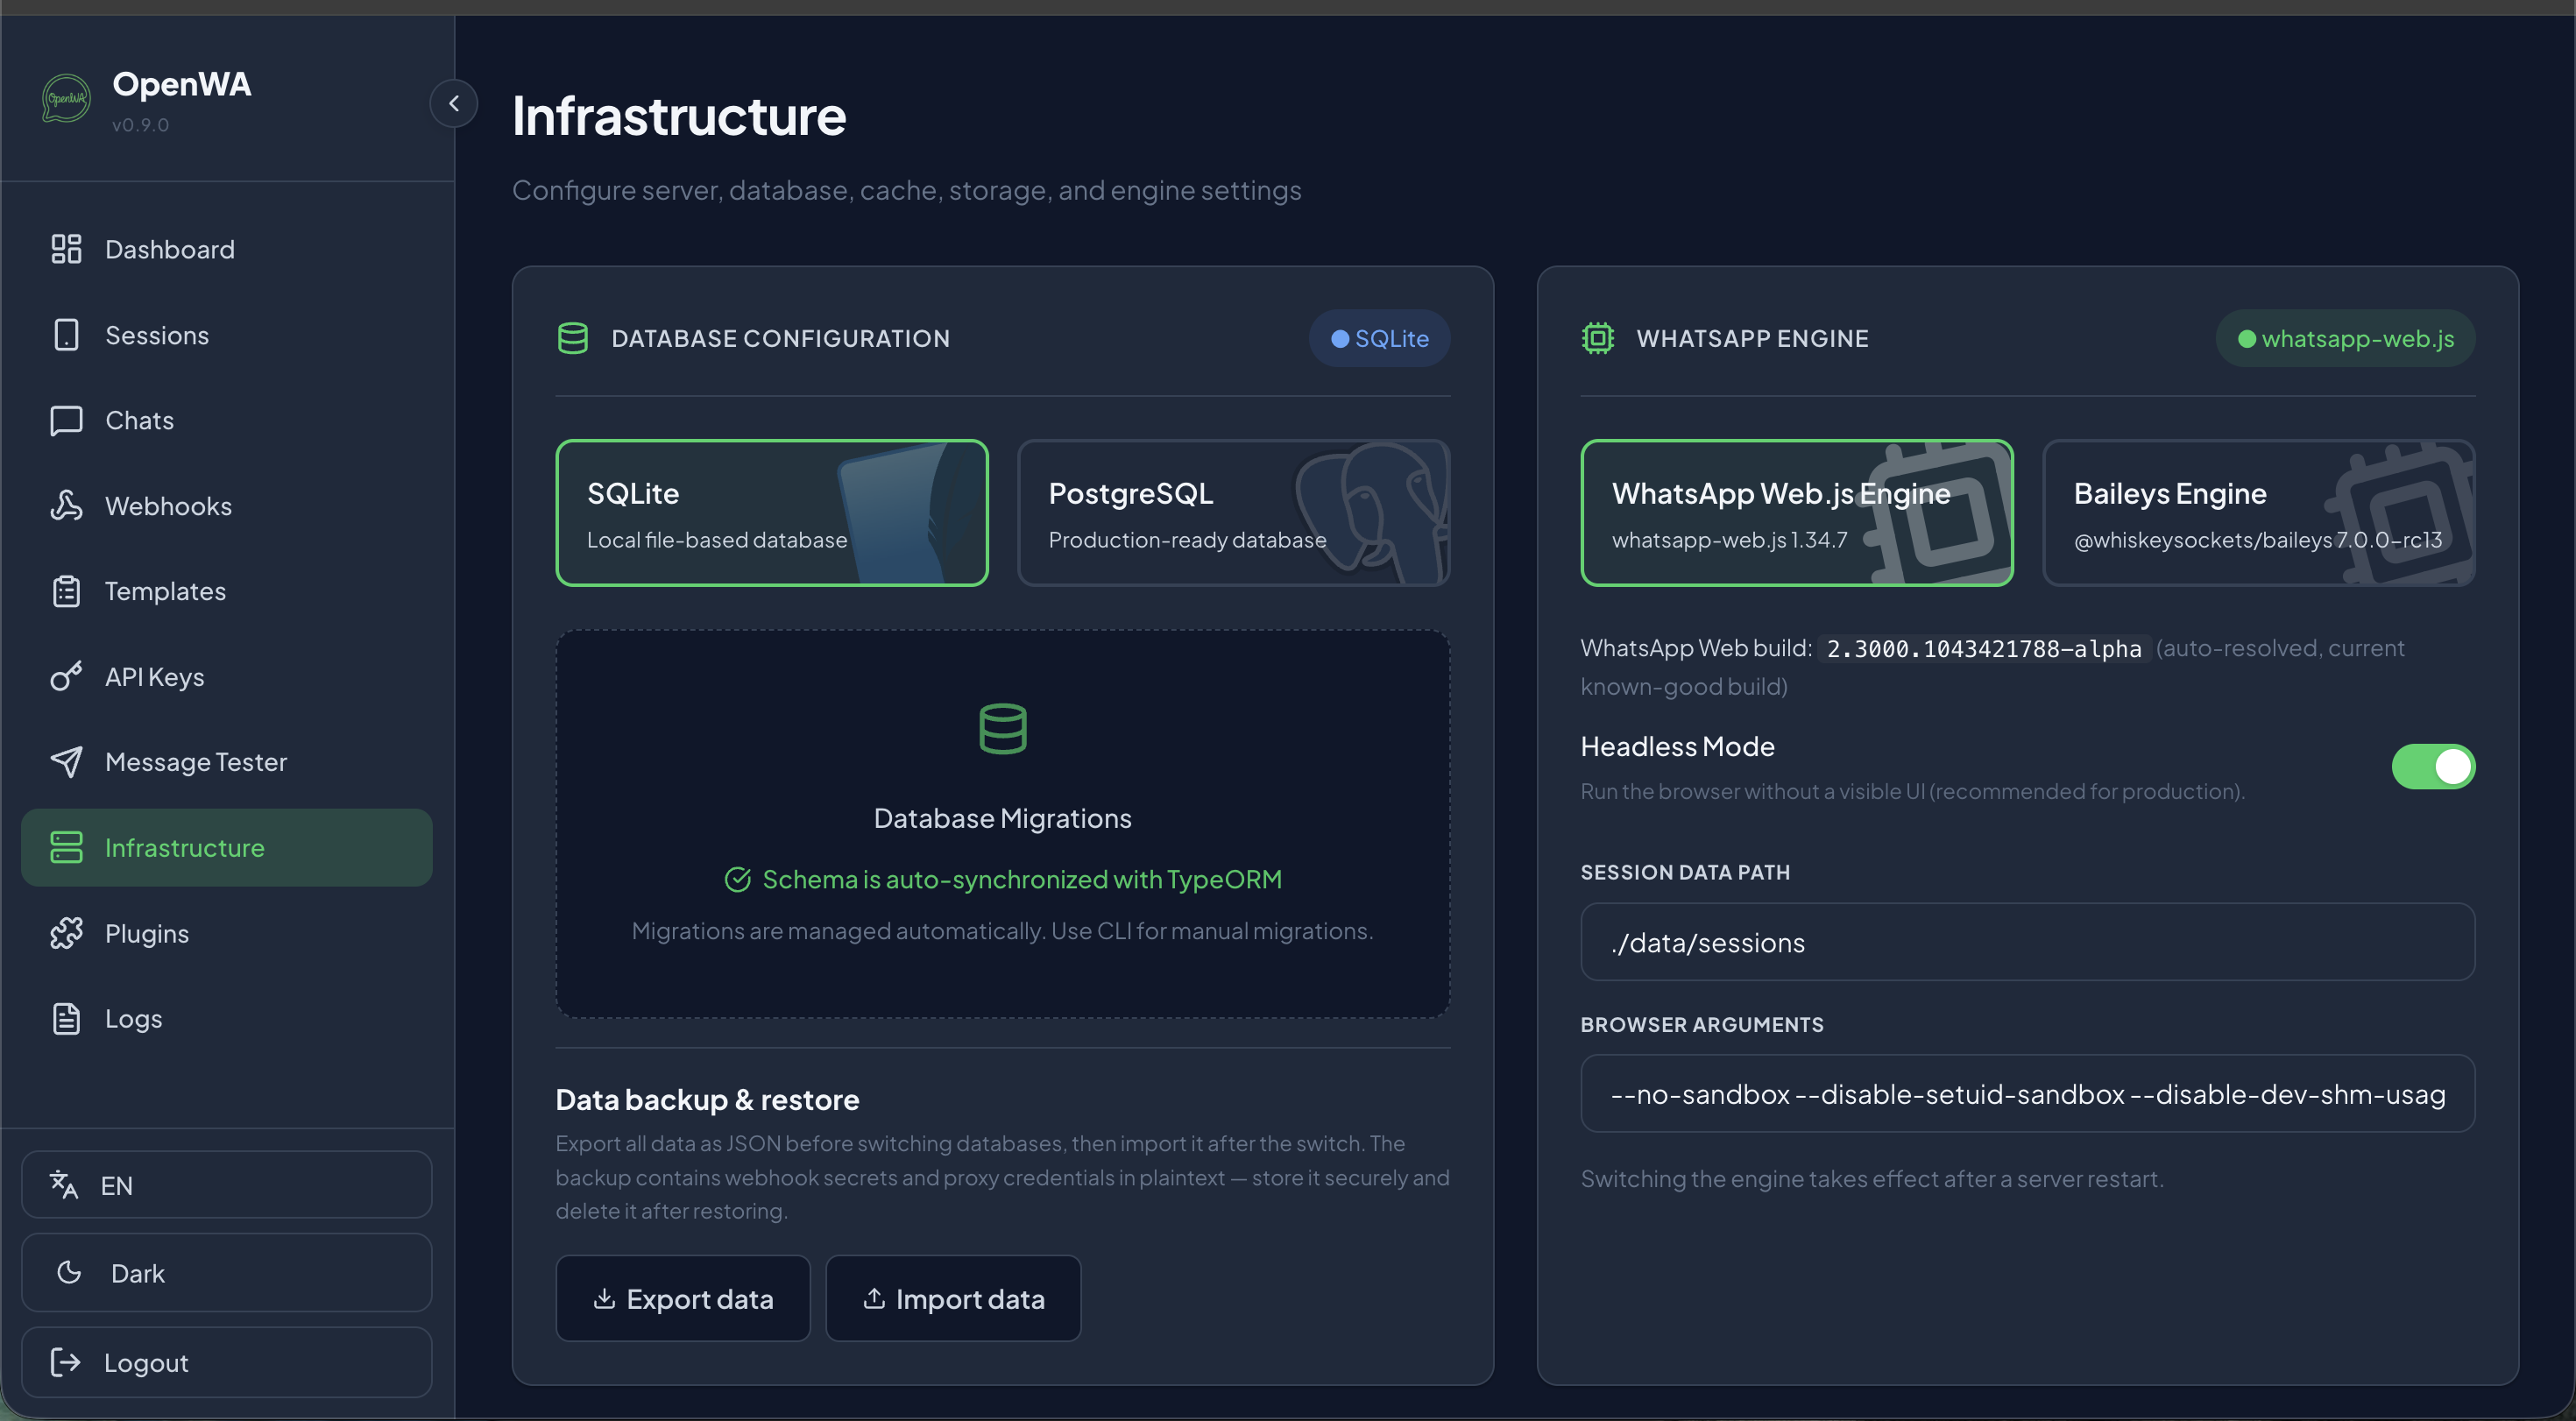
For developers, getting a self-hosted API gateway running locally is the crucial first step. If you want to connect your personal WhatsApp number and start sending messages without waiting for Meta verification tokens, **Docker** is the fastest, cleanest environment to make that happen.
In this walkthrough, we will cover the step-by-step process to clone OpenWA, run it inside a Docker container, scan the QR code to pair your device, issue API calls, and integrate it with your Node.js backend. Let's get started!
Ensure you have the following installed and running on your system:
Clone the official single-container bundler containing both the backend API engine and dashboard administration layout:
git clone https://github.com/rmyndharis/OpenWA.git
cd OpenWAStart the container in detached (background) mode. OpenWA sets up all browser rendering libraries, SQLite/PostgreSQL schemas, and administrative ports out-of-the-box:
docker compose up -dVerify that your containers are running successfully:
docker compose psTo watch container initialization logs in real-time, execute:
docker compose logs -fOnce started, open your web browser and navigate to the local portal:
On initial deployment, OpenWA generates an automated secure admin API key. You can find this key by looking through the terminal container startup logs:
docker compose logs | grep owa_k1You will see a printed token layout structured like `owa_k1_xxxxxxxxxxxxxxxxx`. Alternatively, you can read it directly from inside the container volume path:
/app/data/.api-keyYou can create a session directly via the dashboard panels (using session name: personal-whatsapp), or perform a POST request to the sessions controller:
curl -X POST http://localhost:2785/api/sessions \
  -H "X-API-Key: YOUR_API_KEY" \
  -H "Content-Type: application/json" \
  -d '{"name":"personal-whatsapp"}'
This request registers your connection profile, returning a sessionId.
Wake up the session engine wrapper using your target ID:
curl -X POST http://localhost:2785/api/sessions/YOUR_SESSION_ID/start \
  -H "X-API-Key: YOUR_API_KEY"
Then fetch the generated QR payload to link your device:
curl http://localhost:2785/api/sessions/YOUR_SESSION_ID/qr \
-H "X-API-Key: YOUR_API_KEY"Grab your mobile phone containing your WhatsApp number and connect the device:
Test your connection pipeline by sending a text message payload. Be sure to target recipients using their full international formatting suffix (e.g. @c.us for individual chats or @g.us for groups):
curl -X POST http://localhost:2785/api/sessions/YOUR_SESSION_ID/messages/send-text \
  -H "X-API-Key: YOUR_API_KEY" \
  -H "Content-Type: application/json" \
  -d '{
    "chatId": "91XXXXXXXXXX@c.us",
    "text": "Hello from my OpenWA API Docker container!"
  }'
Known Connection Issue (July 2026)
There is currently an active GitHub issue (#560) reporting that WhatsApp's mandatory passkey requirements prevent QR pairings for some newer accounts. If your scanning fails to advance the state to ready, verify your account's passkey verification statuses.
Once OpenWA is running locally, your custom CRM or dashboard backend acts as an intermediary. Here is the operational workflow for sending outbound and capturing inbound messages:
VitableTech specializes in Dockerized microservice deployments, Webhook systems, and building responsive client dashboard platforms. Let's discuss your next automation project.
Contact VitableTech Today